How to Contribute to MMPose
Welcome to join the MMPose community, we are committed to building cutting-edge computer vision foundational library. All kinds of contributions are welcomed, including but not limited to:
Fix bugs
If the modification involves significant changes, it’s recommended to create an issue first that describes the error information and how to trigger the bug. Other developers will discuss it with you and propose a proper solution.
Fix the bug and add the corresponding unit test, submit the PR.
Add new features or components
If the new feature or module involves a large amount of code changes, we suggest you to submit an issue first, and we will confirm the necessity of the function with you.
Implement the new feature and add unit tests, submit the PR.
Improve documentation or translation
If you find errors or incomplete documentation, please submit a PR directly.
Note
If you hope to contribute to MMPose 1.0, please create a new branch from dev-1.x and submit a PR to the dev-1.x branch.
If you are the author of papers in this field and would like to include your work to MMPose, please contact us. We will much appreciate your contribution.
If you hope to share your MMPose-based projects with the community at once, consider creating a PR to
Projectsdirectory, which will simplify the review process and bring in the projects as soon as possible. Checkout our example projectIf you wish to join the MMPose developers, please feel free to contact us and we will invite you to join the MMPose developers group.
Preparation
The commands for processing pull requests are implemented using Git, and this chapter details Git Configuration and associated GitHub.
Git Configuration
First, you need to install Git and configure your Git username and email.
# view the Git version
git --version
Second, check your Git config and ensure that user.name and user.email are properly configured.
# view the Git config
git config --global --list
# configure the user name and email
git config --global user.name "Change your user name here"
git config --global user.email "Change your user email here"
Pull Request Workflow
If you’re not familiar with Pull Request, don’t worry! The following guidance will tell you how to create a Pull Request step by step. If you want to dive into the development mode of Pull Request, you can refer to the official documents.
1. Fork and Clone
If you are posting a pull request for the first time, you should fork the OpenMMLab repositories by clicking the Fork button in the top right corner of the GitHub page, and the forked repositories will appear under your GitHub profile.

Then you need to clone the forked repository to your local machine.
# clone the forked repository
git clone https://github.com/username/mmpose.git

# Add official repository as upstream remote
cd mmpose
git remote add upstream https://github.com/open-mmlab/mmpose.git
Enter the following command in the terminal to see if the remote repository was successfully added.
git remote -v
If the following message appears, you have successfully added a remote repository.
origin	https://github.com/{username}/mmpose.git (fetch)
origin	https://github.com/{username}/mmpose.git (push)
upstream	https://github.com/open-mmlab/mmpose.git (fetch)
upstream	https://github.com/open-mmlab/mmpose.git (push)
Note
Here’s a brief introduction to the origin and upstream. When we use “git clone”, we create an “origin” remote by default, which points to the repository cloned from. As for “upstream”, we add it ourselves to point to the target repository. Of course, if you don’t like the name “upstream”, you could name it as you wish. Usually, we’ll push the code to “origin”. If the pushed code conflicts with the latest code in official(“upstream”), we should pull the latest code from upstream to resolve the conflicts, and then push to “origin” again. The posted Pull Request will be updated automatically.
2. Configure pre-commit
You should configure pre-commit in the local development environment to make sure the code style matches that of OpenMMLab. Note: The following code should be executed under the MMPOSE directory.
pip install -U pre-commit
pre-commit install
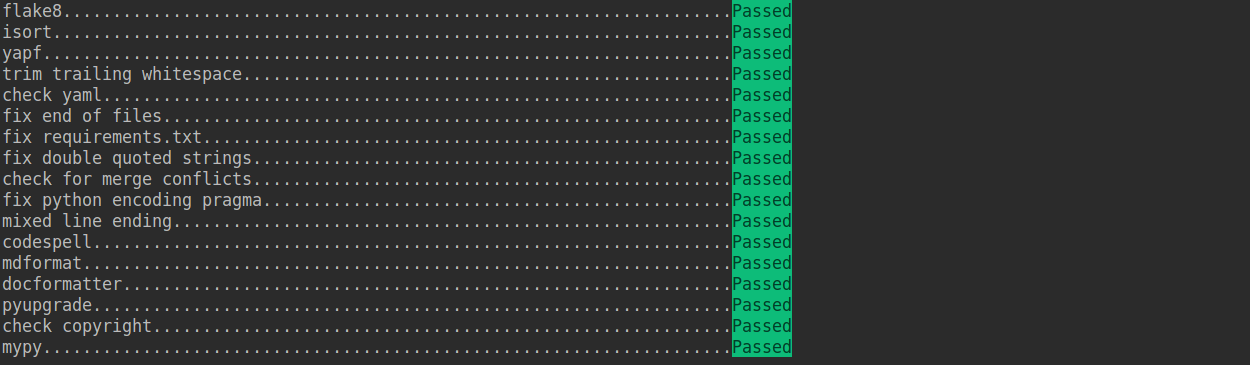
Check that pre-commit is configured successfully, and install the hooks defined in .pre-commit-config.yaml.
pre-commit run --all-files
Note
Chinese users may fail to download the pre-commit hooks due to the network issue. In this case, you could download these hooks from:
pip install -U pre-commit -i https://pypi.tuna.tsinghua.edu.cn/simple
or:
pip install -U pre-commit -i https://pypi.mirrors.ustc.edu.cn/simple
If the installation process is interrupted, you can repeatedly run pre-commit run ... to continue the installation.
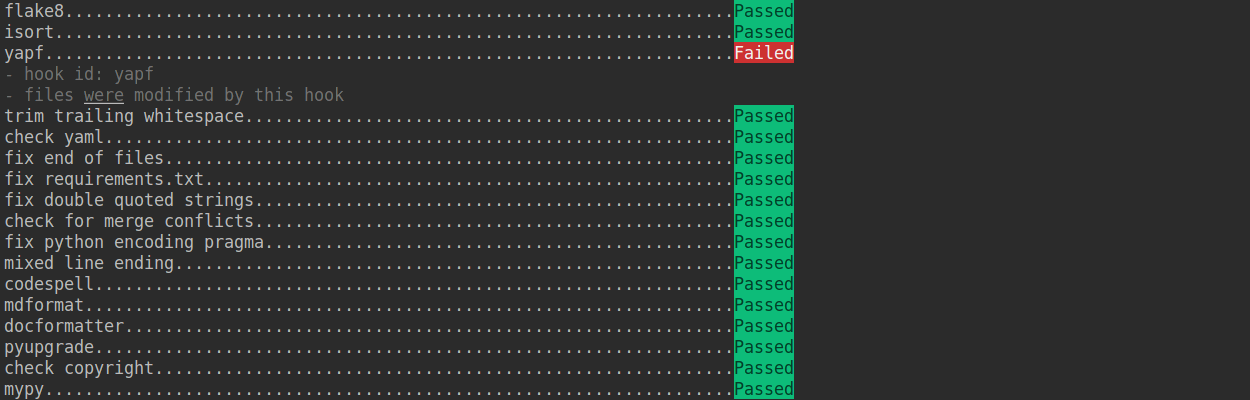
If the code does not conform to the code style specification, pre-commit will raise a warning and fixes some of the errors automatically.
3. Create a development branch
After configuring the pre-commit, we should create a branch based on the dev branch to develop the new feature or fix the bug. The proposed branch name is username/pr_name.
git checkout -b username/refactor_contributing_doc
In subsequent development, if the dev branch of the local repository lags behind the dev branch of the official repository, you need to pull the upstream dev branch first and then rebase it to the local development branch.
git checkout username/refactor_contributing_doc
git fetch upstream
git rebase upstream/dev-1.x
When rebasing, if a conflict arises, you need to resolve the conflict manually, then execute the git add command, and then execute the git rebase --continue command until the rebase is complete.
4. Commit the code and pass the unit test
After the local development is done, we need to pass the unit tests locally and then commit the code.
# run unit test
pytest tests/

# commit the code
git add .
git commit -m "commit message"
5. Push the code to the remote repository
After the local development is done, we need to push the code to the remote repository.
git push origin username/refactor_contributing_doc

Code Style
Python
We adopt PEP8 as the preferred code style, and use the following tools for linting and formatting:
flake8: A wrapper around some linter tools.
isort: A Python utility to sort imports.
yapf: A formatter for Python files.
codespell: A Python utility to fix common misspellings in text files.
mdformat: Mdformat is an opinionated Markdown formatter that can be used to enforce a consistent style in Markdown files.
docformatter: A formatter to format docstring.
Style configurations of yapf and isort can be found in setup.cfg.
We use pre-commit hook that checks and formats for flake8, yapf, isort, trailing whitespaces, markdown files,
fixes end-of-files, double-quoted-strings, python-encoding-pragma, mixed-line-ending, sorts requirments.txt automatically on every commit.
The config for a pre-commit hook is stored in .pre-commit-config.
Note
Before you create a PR, make sure that your code lints and is formatted by yapf.
C++ and CUDA
We follow the Google C++ Style Guide.